今回はButtonのデザインを変更しようと思います。
Buttonはアプリに欠かせない機能ですよね。
なのでButtonのデザインによってアプリ全体のデザインが大きく異なってきます。
では早速実装していきましょう!
Buttonの背景色を状態によって変更する
まずは背景色を変更しましょう!
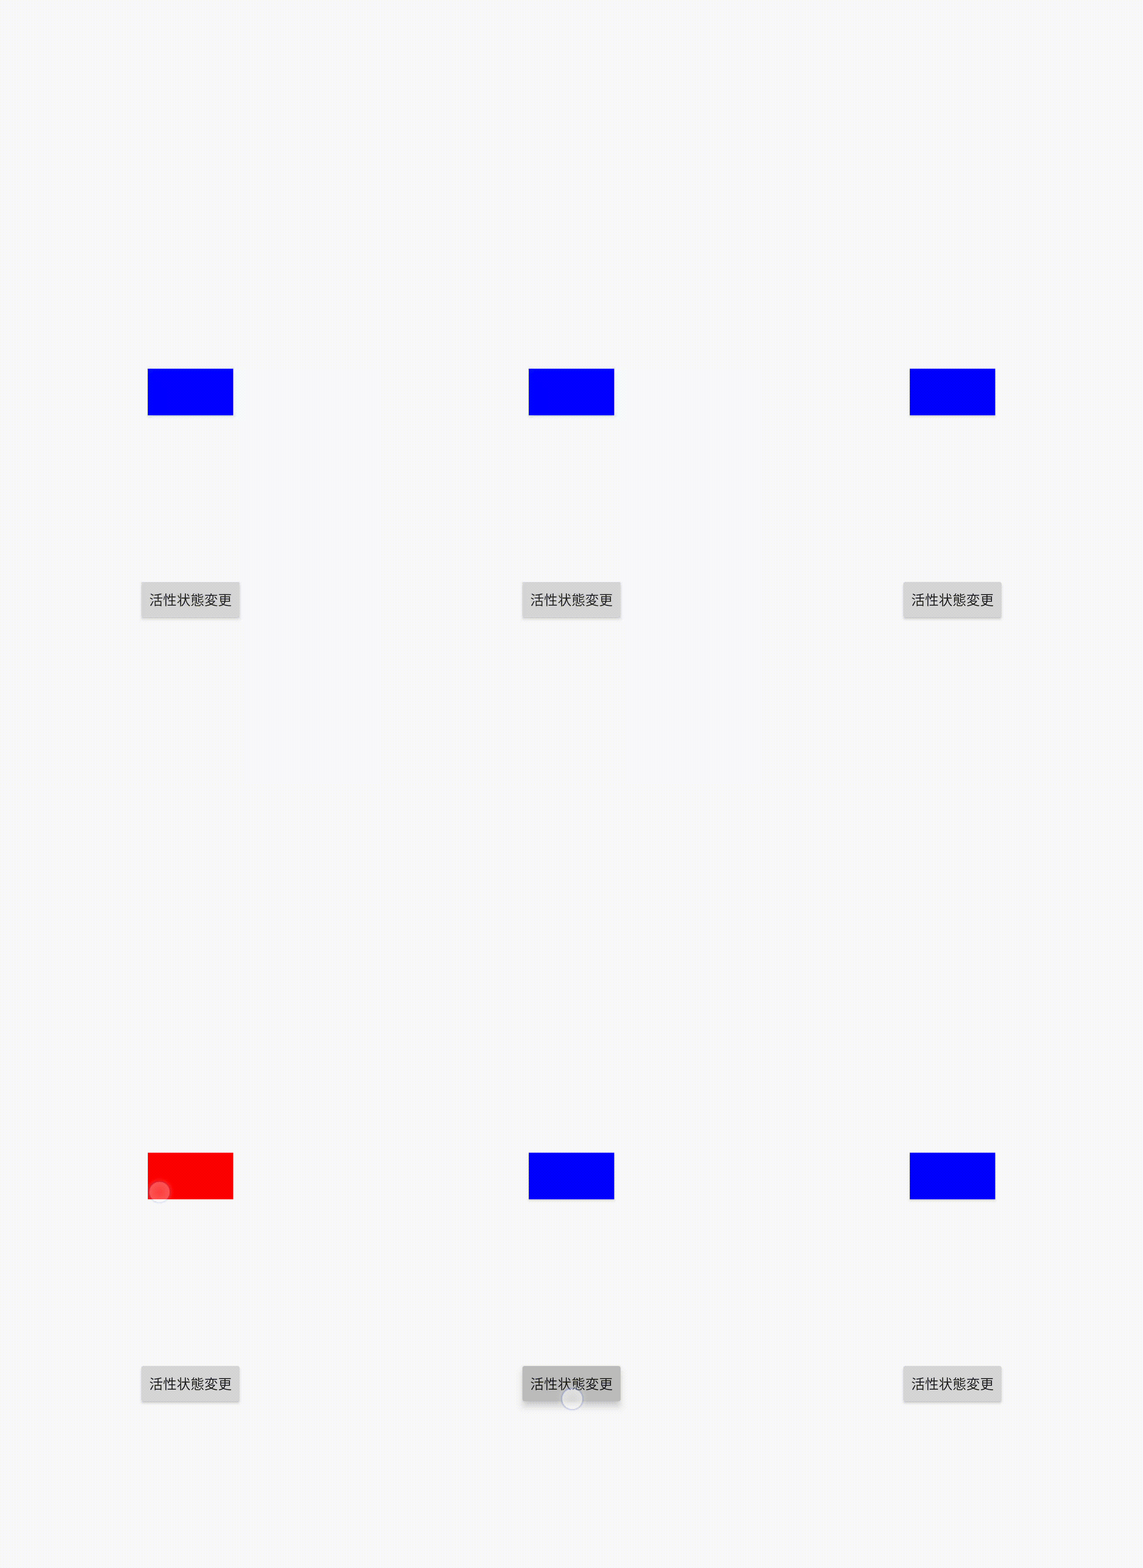
Buttonの状態によって色を変更する事が可能です。
前提準備
まずはres/values/colors.xmlに使用する色を定義しましょう
    <color name="colorRed">#FF0000</color>
    <color name="colorGreen">#00FF00</color>
<color name="colorBlue">#0000FF</color>そしてres/drawableに活性状態やボタンタップ時の色を定義しましょう!
<?xml version="1.0" encoding="utf-8"?>
<selector xmlns:android="http://schemas.android.com/apk/res/android">
    <!-- ボタン非活性時  -->
    <item android:state_enabled="false" android:drawable="@color/colorRed" />
    <!-- ボタン押下時 -->
    <item android:state_pressed="true" android:drawable="@color/colorGreen" />
    <!-- ボタン通常時 -->
    <item android:drawable="@color/colorBlue" />
</selector>
実装
前提準備が完了できたら表示実装をしましょう!
<Button
    android:id="@+id/button"
    android:layout_width="wrap_content"
    android:layout_height="wrap_content"
    android:background="@drawable/button_background"  <- Buttonの背景色にカラー定義リソースを設定する
    app:layout_constraintTop_toTopOf="parent"
    app:layout_constraintBottom_toBottomOf="parent"
    app:layout_constraintStart_toStartOf="parent"
    app:layout_constraintEnd_toEndOf="parent" />
// Buttonのインスタンスを取得
Button button = findViewById(R.id.button);
// Buttonの背景色にカラー定義リソースを設定する
button.setBackground(getResources().getDrawable(R.drawable.button_background, null));// Buttonのインスタンスを取得
val button = findViewById<Button>(R.id.button)
// Buttonの背景色にカラー定義リソースを設定する
button.background = resources.getDrawable(R.drawable.button_background, null)
android:backgroundの説明
| 説明 | 例 | |
| android:background | 指定したカラーコードあるいはdrawableファイルに応じた色が背景色に設定される | @drawable/xxx, #FF0000 |
setBackground()の説明
| 引数型 | 説明 | |
| 第一引数 | Drawable | 指定したdrawableファイルに応じた色が背景色に設定される |
Buttonを角丸に変更する
続いてはボタンを角丸にしてみましょう
デフォルトでは角張っているのでアプリによっては合わない等あると思います。
まずは前提準備をしましょう
前提準備
まずは角丸指定するxmlをres/drawableに追加しましょう
<?xml version="1.0" encoding="utf-8"?>
<selector xmlns:android="http://schemas.android.com/apk/res/android">
    <item>
        <shape>
            <!-- ボタンの背景色を設定 -->
            <solid android:color="#FF0000" />
            <!-- ボタンの角丸を設定 -->
            <corners android:radius="16dp" />
        </shape>
    </item>
</selector>| 説明 | 例 | |
| android:color | 指定したカラーコードをボタンの背景色に設定する | @color/xxx, #FF0000 |
| android:radius | 角丸の度合いを設定する | 16dp, 24sp |
実装
<Button
    android:id="@+id/button"
    android:layout_width="wrap_content"
    android:layout_height="wrap_content"
    android:background="@drawable/button_shape_background"  <- Buttonの背景色にカラー定義リソースを設定する
    app:layout_constraintTop_toTopOf="parent"
    app:layout_constraintBottom_toBottomOf="parent"
    app:layout_constraintStart_toStartOf="parent"
    app:layout_constraintEnd_toEndOf="parent" />
// Buttonのインスタンスを取得
Button button = findViewById(R.id.button);
// Buttonの背景色にカラー定義リソースを設定する
button.setBackground(getResources().getDrawable(R.drawable.button_shape_background, null));// Buttonのインスタンスを取得
val button = findViewById<Button>(R.id.button)
// Buttonの背景色にカラー定義リソースを設定する
button.background = resources.getDrawable(R.drawable.button_shape_background, null)
Buttonの文字の大きさを変更する
次は文字の大きさを変更してみましょう!
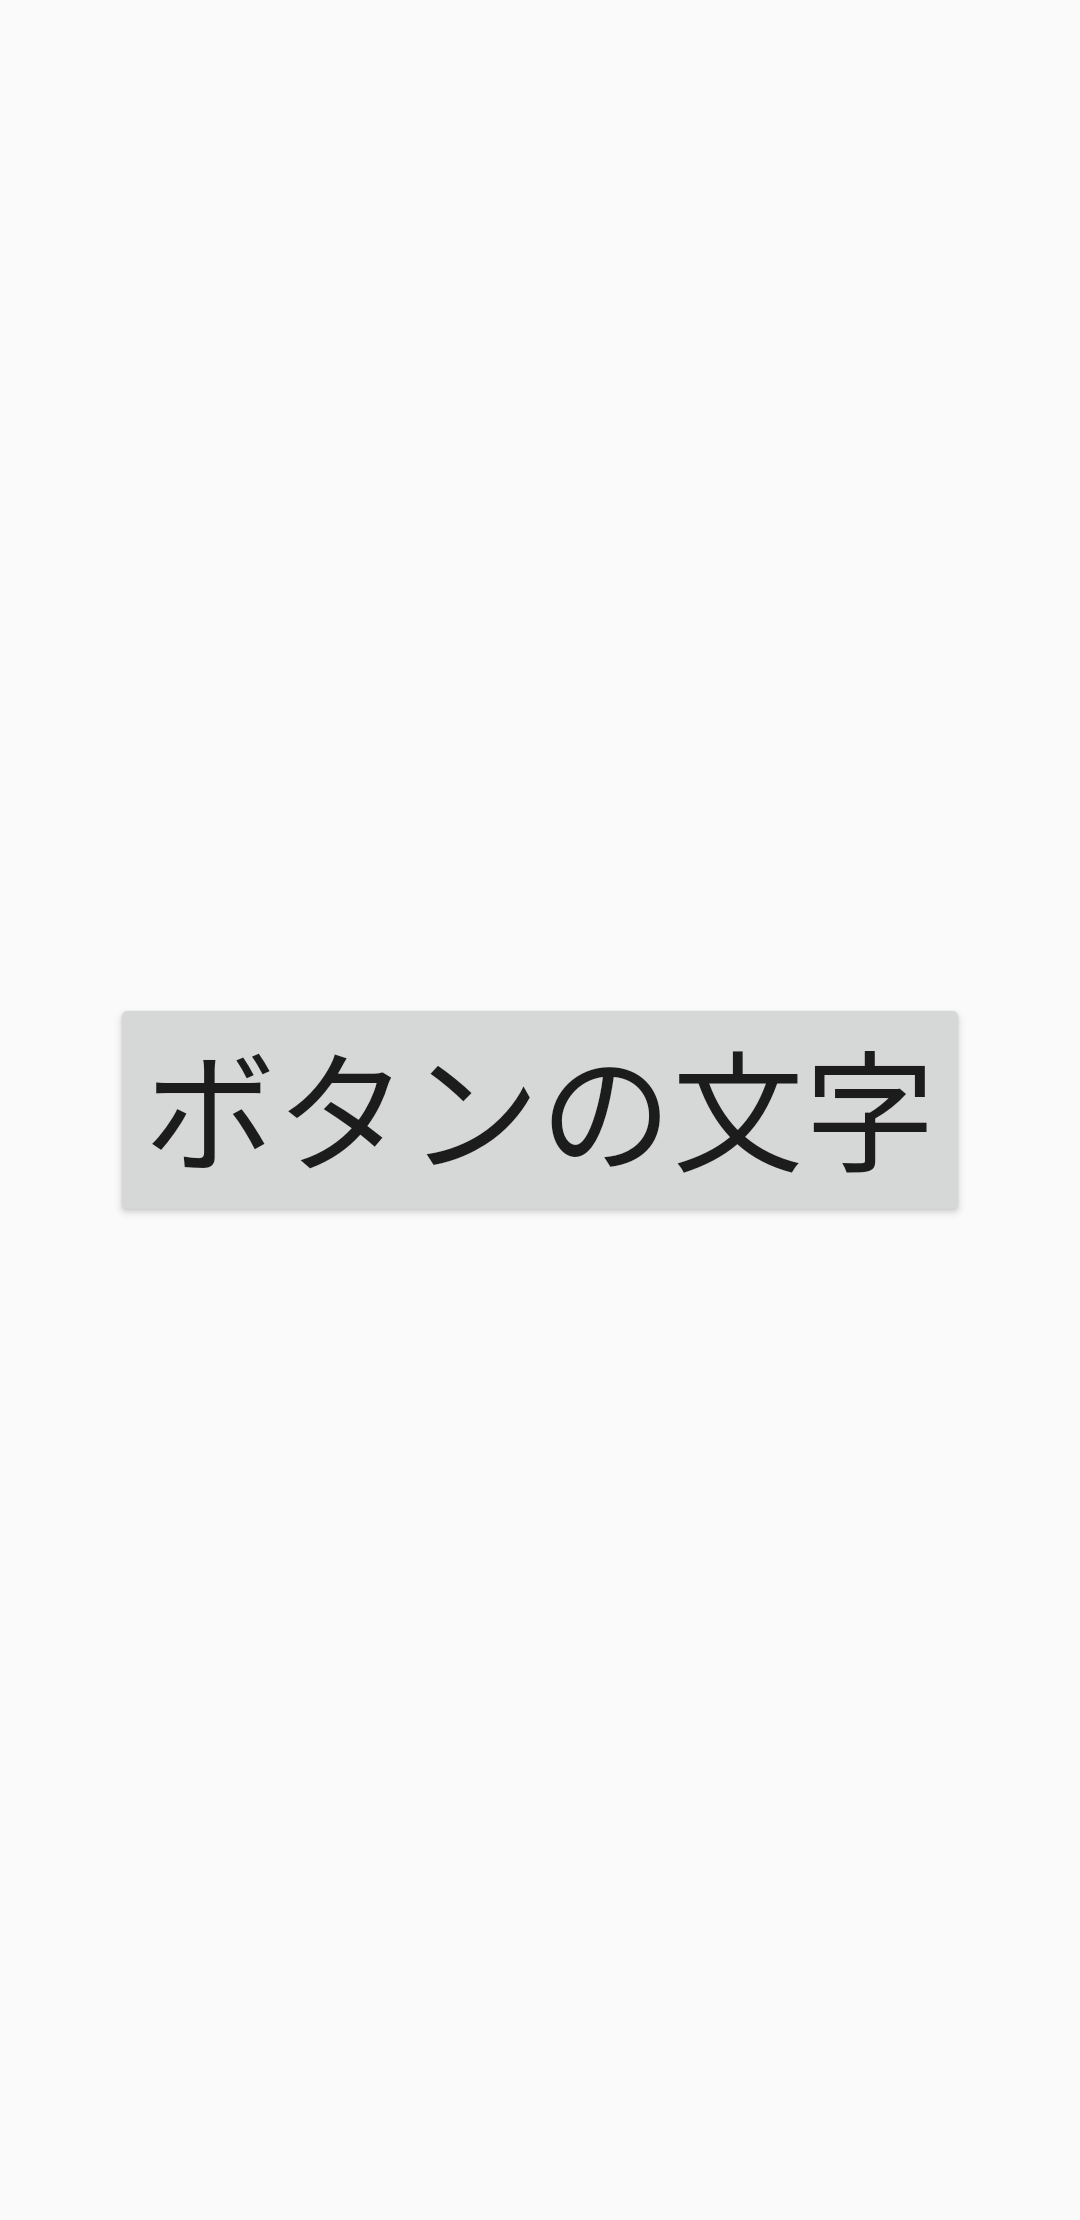
デフォルトで表示されている大きさは端末によって異なりますがだいたい14spとされています。
<Button
    android:id="@+id/button"
    android:layout_width="wrap_content"
    android:layout_height="wrap_content"
    android:text="ボタンの文字"
    android:textSize="48dp"  <- Buttonの文字の大きさを変更する
    app:layout_constraintTop_toTopOf="parent"
    app:layout_constraintBottom_toBottomOf="parent"
    app:layout_constraintStart_toStartOf="parent"
    app:layout_constraintEnd_toEndOf="parent" />
// Buttonのインスタンスを取得
Button button = findViewById(R.id.button);
// Buttonの文字の大きさを変更する
button.setTextSize(TypedValue.COMPLEX_UNIT_DIP, 48);// Buttonのインスタンスを取得
val button = findViewById<Button>(R.id.button)
// Buttonの文字の大きさを変更する
button.setTextSize(TypedValue.COMPLEX_UNIT_DIP, 48f)
android:textSizeの説明
| 説明 | 例 | |
| android:textSize | 値と単位に応じて文字の大きさが適応される | 24dp, 24sp |
sp = ユーザが端末に設定しているフォントサイズに応じて伸縮する(推奨)
dp = 端末の画面の大きさによって伸縮する
setTextSize()の説明
| 入力型 | 説明 | 例 | |
| 第一引数 | Int | 単位 | TypedValue.COMPLEX_UNIT_SP, TypedValue.COMPLEX_UNIT_DIP |
| 第二引数 | Float | 値 | 24 |
TypedValue.COMPLEX_UNIT_SP = 単位をsp指定
TypedValue.COMPLEX_UNIT_DIP = 単位をdp指定
Buttonの文字色を状態によって変更する
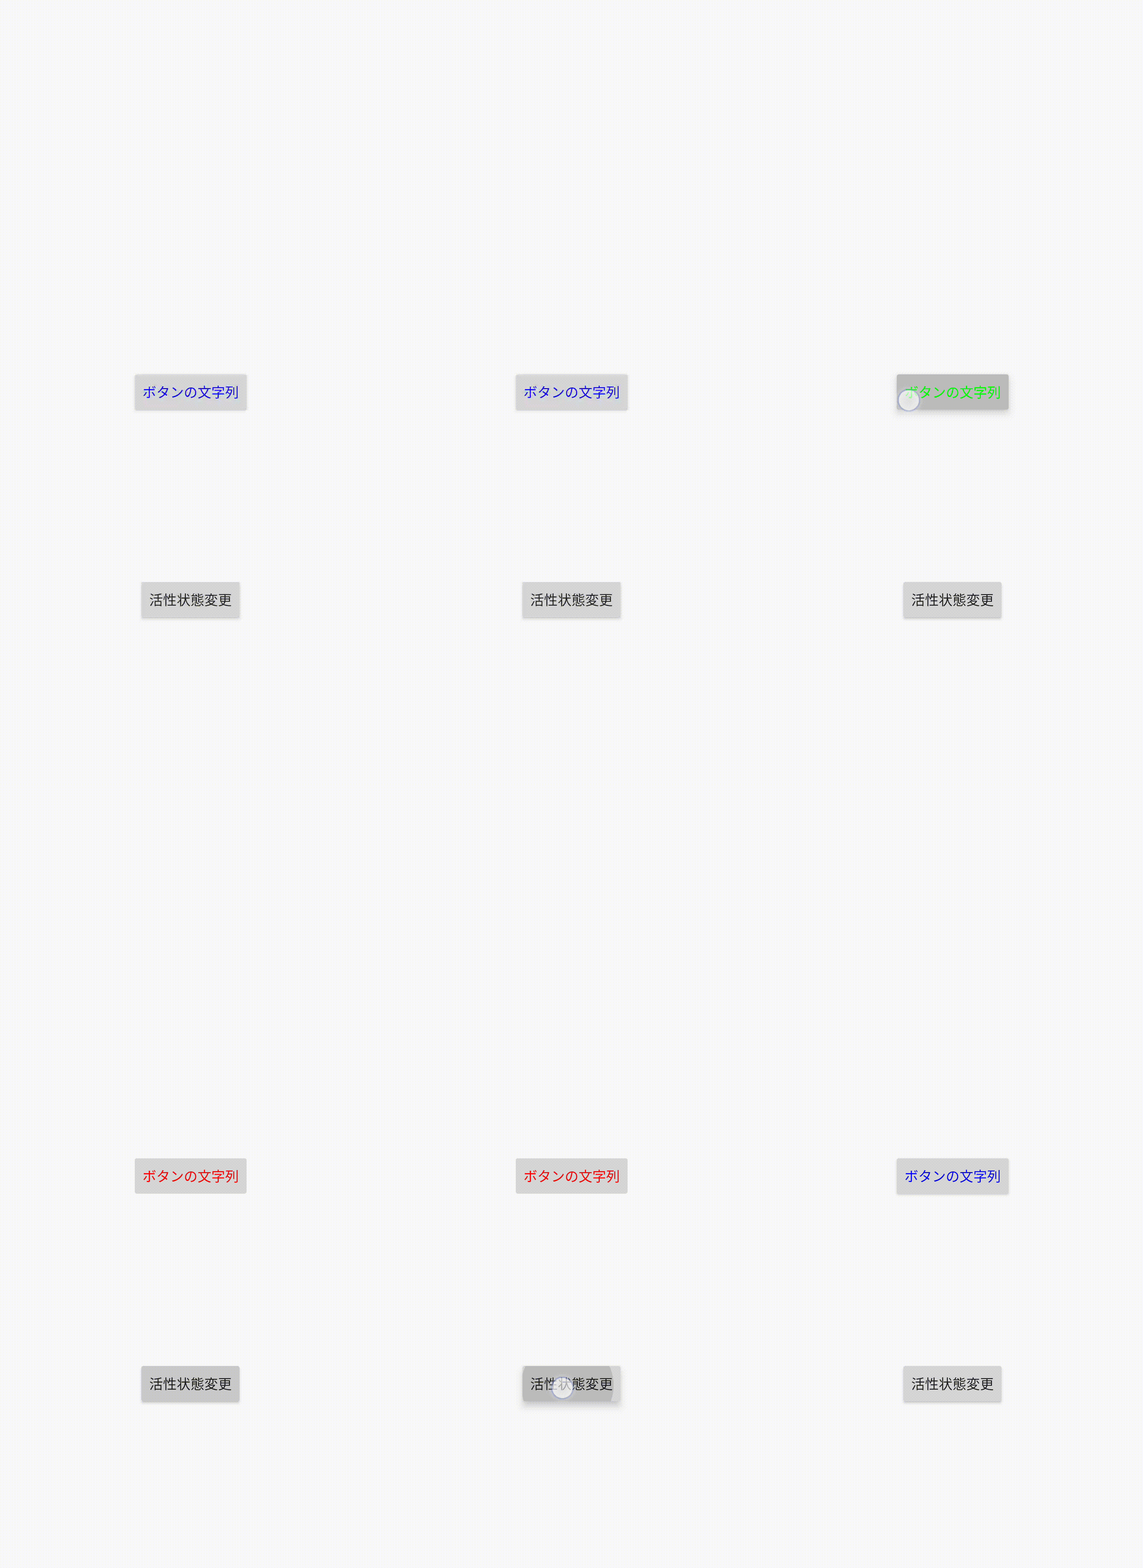
続いては文字色を状態によって変更しましょう
上記の背景色を状態によって変更する文字色版です。
前提準備
res/colorに活性状態やボタンタップ時の色を定義しましょう!
<?xml version="1.0" encoding="utf-8"?>
<selector xmlns:android="http://schemas.android.com/apk/res/android">
    <!-- ボタン非活性時  -->
    <item android:state_enabled="false" android:color="#FF0000" />
    <!-- ボタン押下時 -->
    <item android:state_pressed="true" android:color="#00FF00" />
    <!-- ボタン通常時 -->
    <item android:color="#0000FF" />
</selector>
実装
<Button
    android:id="@+id/button"
    android:layout_width="wrap_content"
    android:layout_height="wrap_content"
    android:text="ボタンの文字列"
    android:textColor="@color/button_text_color"  <- Buttonの文字色を設定する
    app:layout_constraintTop_toTopOf="parent"
    app:layout_constraintBottom_toBottomOf="parent"
    app:layout_constraintStart_toStartOf="parent"
    app:layout_constraintEnd_toEndOf="parent" />
// Buttonのインスタンスを取得
Button button = findViewById(R.id.button);
// Buttonの文字色を設定する
button.setTextColor(getResources().getColorStateList(R.color.button_text_color, null));// Buttonのインスタンスを取得
val button = findViewById<Button>(R.id.button)
// Buttonの文字色を設定する
button.setTextColor(resources.getColorStateList(R.color.button_text_color, null))
android:textColorの説明
| 説明 | 例 | |
| android:textColor | 指定したカラーコードあるいはdrawableファイルに応じた色が背景色に設定される | @drawable/xxx, @color/xxx, #FF0000 |
setTextColor()の説明
| 引数型 | 説明 | |
| 第一引数 | ColorStateList | 指定したColorStateListの状態によって文字色を反映される |
Buttonの文字を太字に変更する
続いては文字を太字にしてみましょう!
<Button
    android:id="@+id/button"
    android:layout_width="wrap_content"
    android:layout_height="wrap_content"
    android:text="ボタンの文字列"
    android:textStyle="bold"  <- Buttonの文字を太字に変更する
    app:layout_constraintTop_toTopOf="parent"
    app:layout_constraintBottom_toBottomOf="parent"
    app:layout_constraintStart_toStartOf="parent"
    app:layout_constraintEnd_toEndOf="parent" />
// Buttonのインスタンスを取得
Button button = findViewById(R.id.button);
// Buttonの文字を太字に変更する
button.setTypeface(Typeface.DEFAULT_BOLD);// Buttonのインスタンスを取得
val button = findViewById<Button>(R.id.button)
// Buttonの文字を太字に変更する
button.typeface = Typeface.DEFAULT_BOLD
android:textStyleの説明
| 説明 | 例 | |
| android:textStyle | 指定したフォントスタイルを文字列に設定する | normal, bold, italic |
setTypeface()の説明
| 引数型 | 説明 | |
| 第一引数 | Typeface | 指定したフォントスタイルを文字列に設定する |
最後に
いかがでしたでしょうか!
今回紹介したデザイン使用するとある程度の仕様に沿えると思います!
また次回!


コメント