今回はアプリに画像を表示させてみようと思います。
個人的意見ですが画像表示をしないアプリの方が少ないのではないのでしょうか?
では、さっそく実装してみましょう!
事前準備
まず、表示したい画像をアプリに取り込みましょう
res/drawableに表示したい画像を設定します。
※res/drawableに設定できる画像の拡張子は.png, .jpg, .gifのみとなっています

表示させたい画面にImageViewを配置させます。
私の場合はMainActivityを使用するのでのレイアウトXMLのacticity_main.xmlに配置します。
<?xml version="1.0" encoding="utf-8"?>
<androidx.constraintlayout.widget.ConstraintLayout
    xmlns:android="http://schemas.android.com/apk/res/android"
    xmlns:app="http://schemas.android.com/apk/res-auto"
    android:layout_width="match_parent"
    android:layout_height="match_parent">

<ImageView
    android:id="@+id/imageView"
    android:layout_width="match_parent"
    android:layout_height="match_parent"
    app:layout_constraintTop_toTopOf="parent"
    app:layout_constraintBottom_toBottomOf="parent"
    app:layout_constraintStart_toStartOf="parent"
    app:layout_constraintEnd_toEndOf="parent" />

</androidx.constraintlayout.widget.ConstraintLayout>
画像を表示させる
事前準備ができたら実際に画像を表示してみましょう
レイアウトXMLとクラスファイルのどちらでも表示できます。
<ImageView
    android:id="@+id/imageView"
    android:layout_width="match_parent"
    android:layout_height="match_parent"
    android:src="@drawable/picture"  <- 画像を設定
    app:layout_constraintTop_toTopOf="parent"
    app:layout_constraintBottom_toBottomOf="parent"
    app:layout_constraintStart_toStartOf="parent"
    app:layout_constraintEnd_toEndOf="parent" />
// ImageViewのインスタンスを取得
ImageView imageView = findViewById(R.id.imageView);
// 画像を設定
imageView.setImageResource(R.drawable.picture);
// ImageViewのインスタンスを取得
val imageView = findViewById<ImageView>(R.id.imageView)
// 画像を設定
imageView.setImageResource(R.drawable.picture)
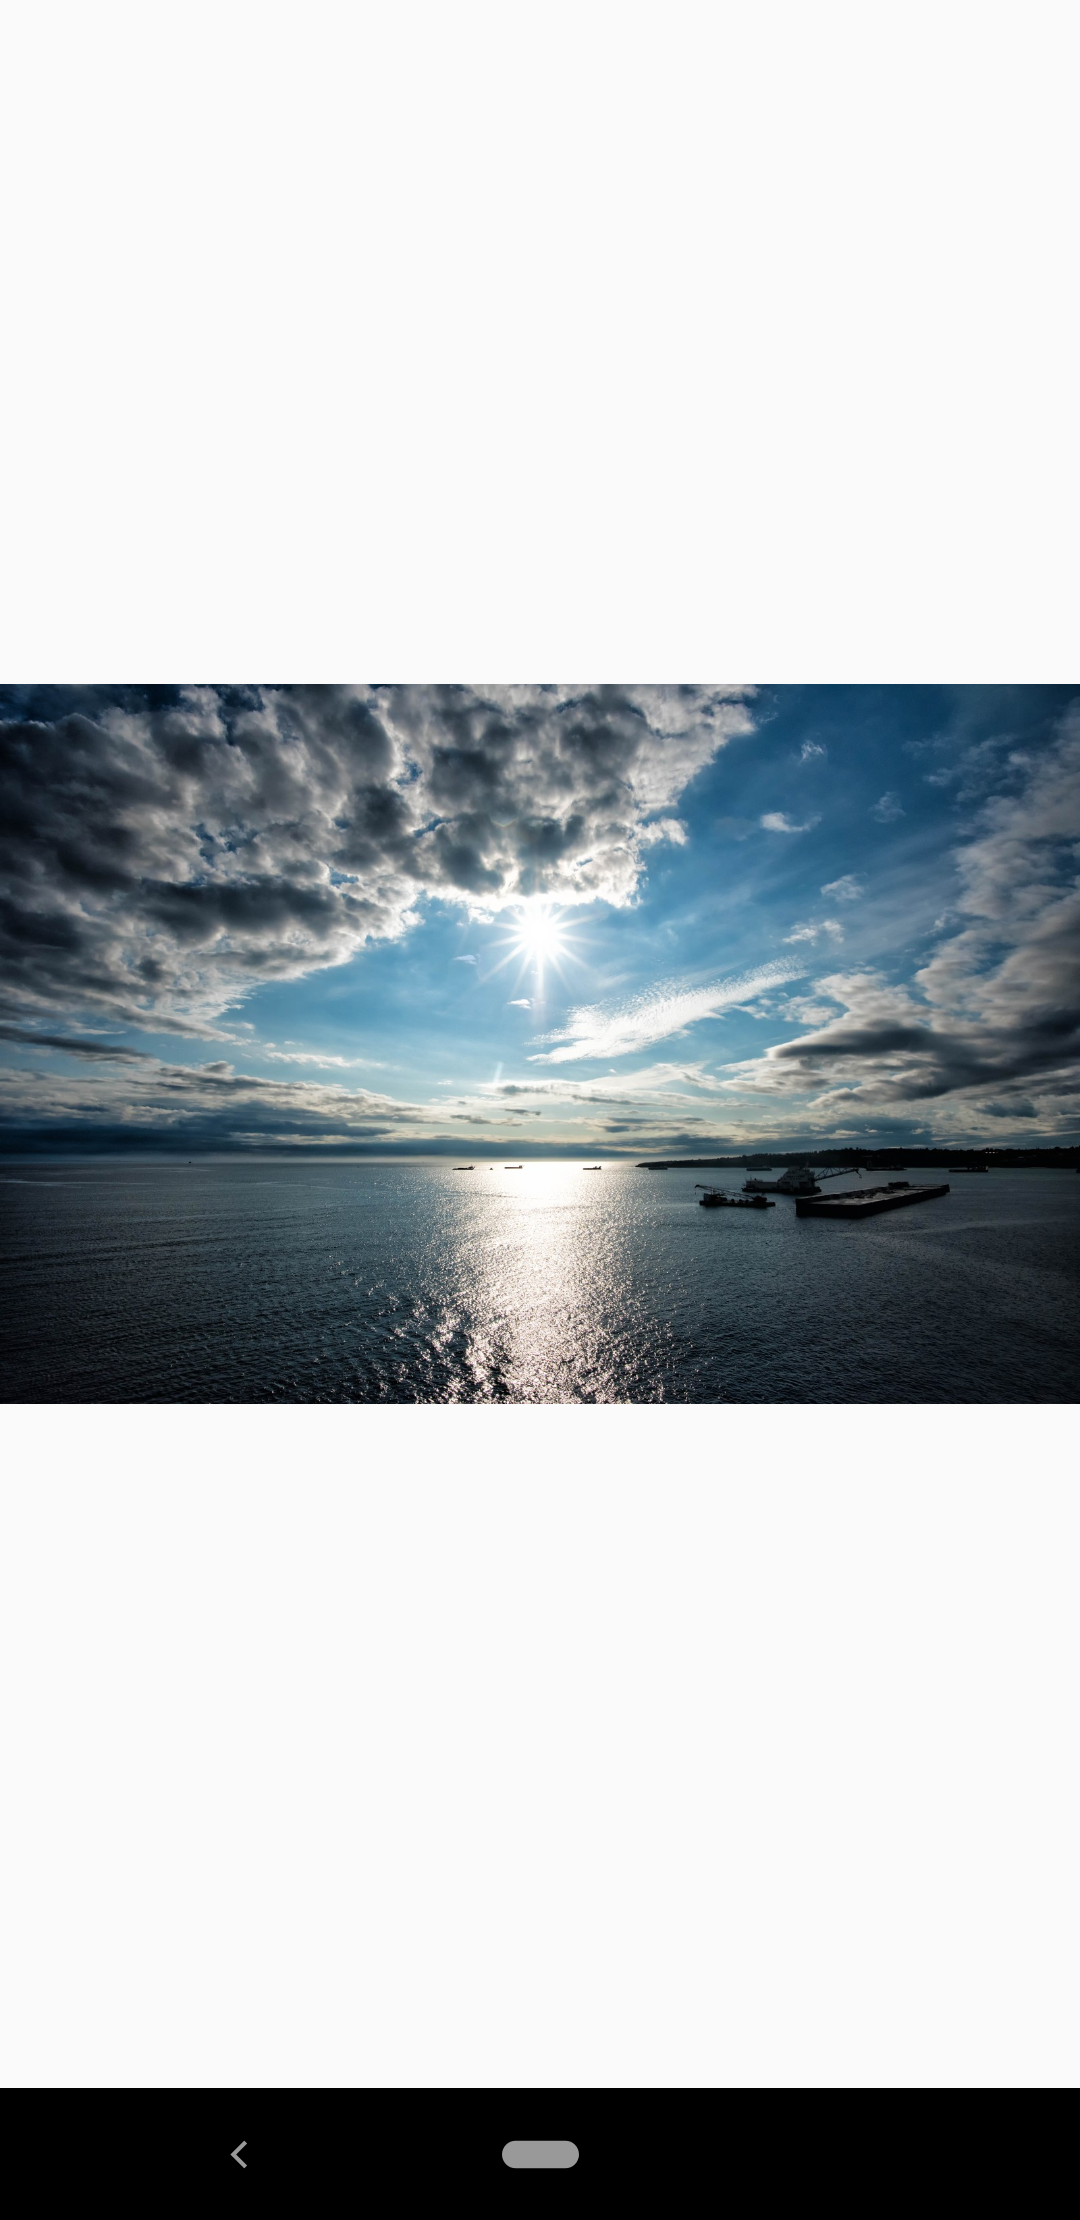
以上で表示することができます。簡単ですね!
それではImageViewの表示周りで色々カスタマイズしていきます
画像を透過して表示させる
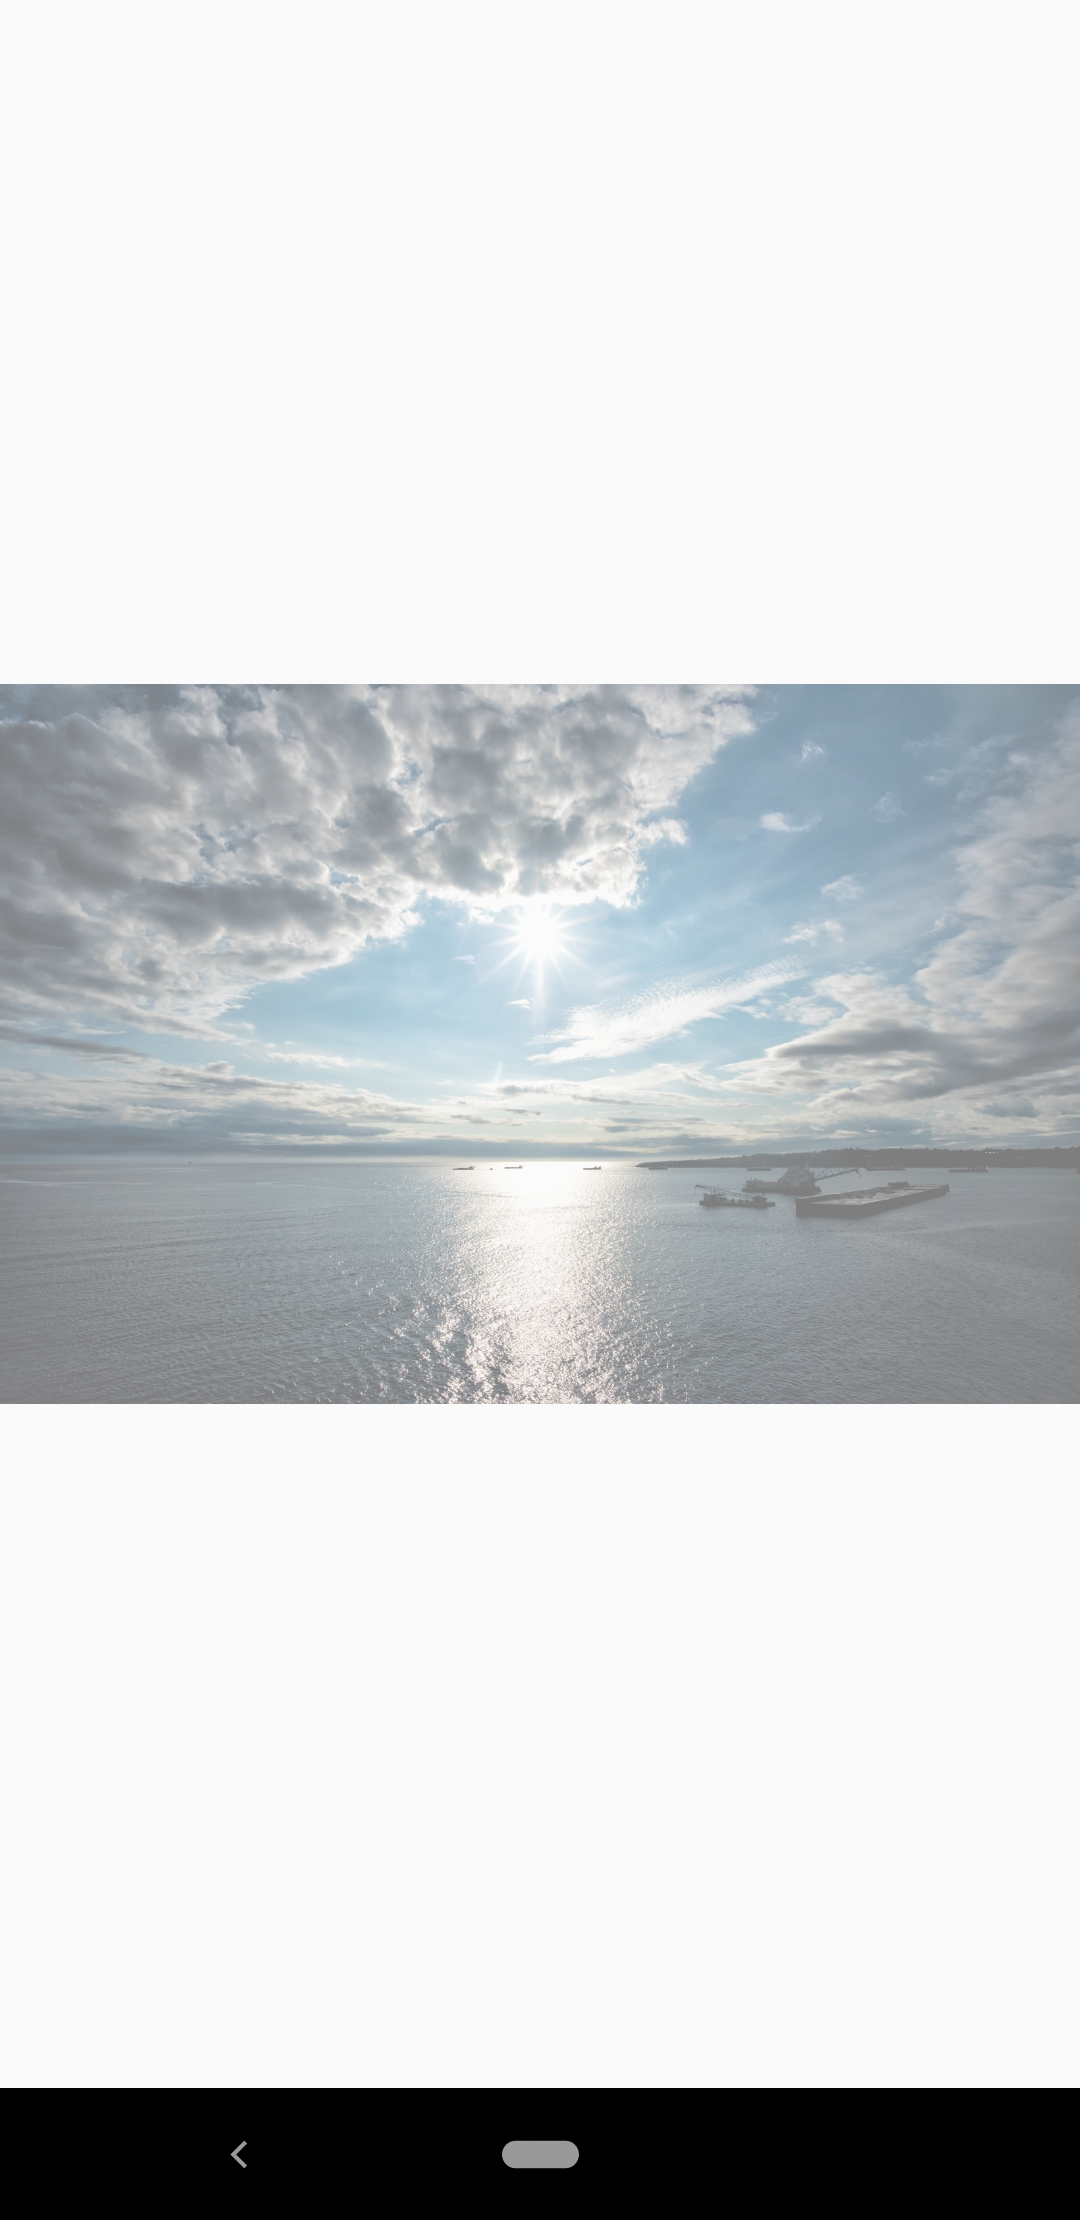
透過したい場合はalphaを設定すると透過割合を指定できます。
(透過割合は0.0~1.0の間で指定できます。数字が小さくなればなるほど透明になります)
<ImageView
    android:id="@+id/imageView"
    android:layout_width="match_parent"
    android:layout_height="match_parent"
    android:src="@drawable/picture"
    android:alpha="0.5"  <- 透過割合を指定
    app:layout_constraintTop_toTopOf="parent"
    app:layout_constraintBottom_toBottomOf="parent"
    app:layout_constraintStart_toStartOf="parent"
    app:layout_constraintEnd_toEndOf="parent" />
// ImageViewのインスタンスを取得
ImageView imageView = findViewById(R.id.imageView);
// 透過割合を指定
imageView.setAlpha(0.5F);// ImageViewのインスタンスを取得
val imageView = findViewById<ImageView>(R.id.imageView)
// 透過割合を指定
imageView.alpha = 0.5F
ImageView全体に画像を表示する(アスペクト比無視)
ImageViewのデフォルトではアスペクト比を維持するに縦横のどちらかに合わせて画像が表示されます。
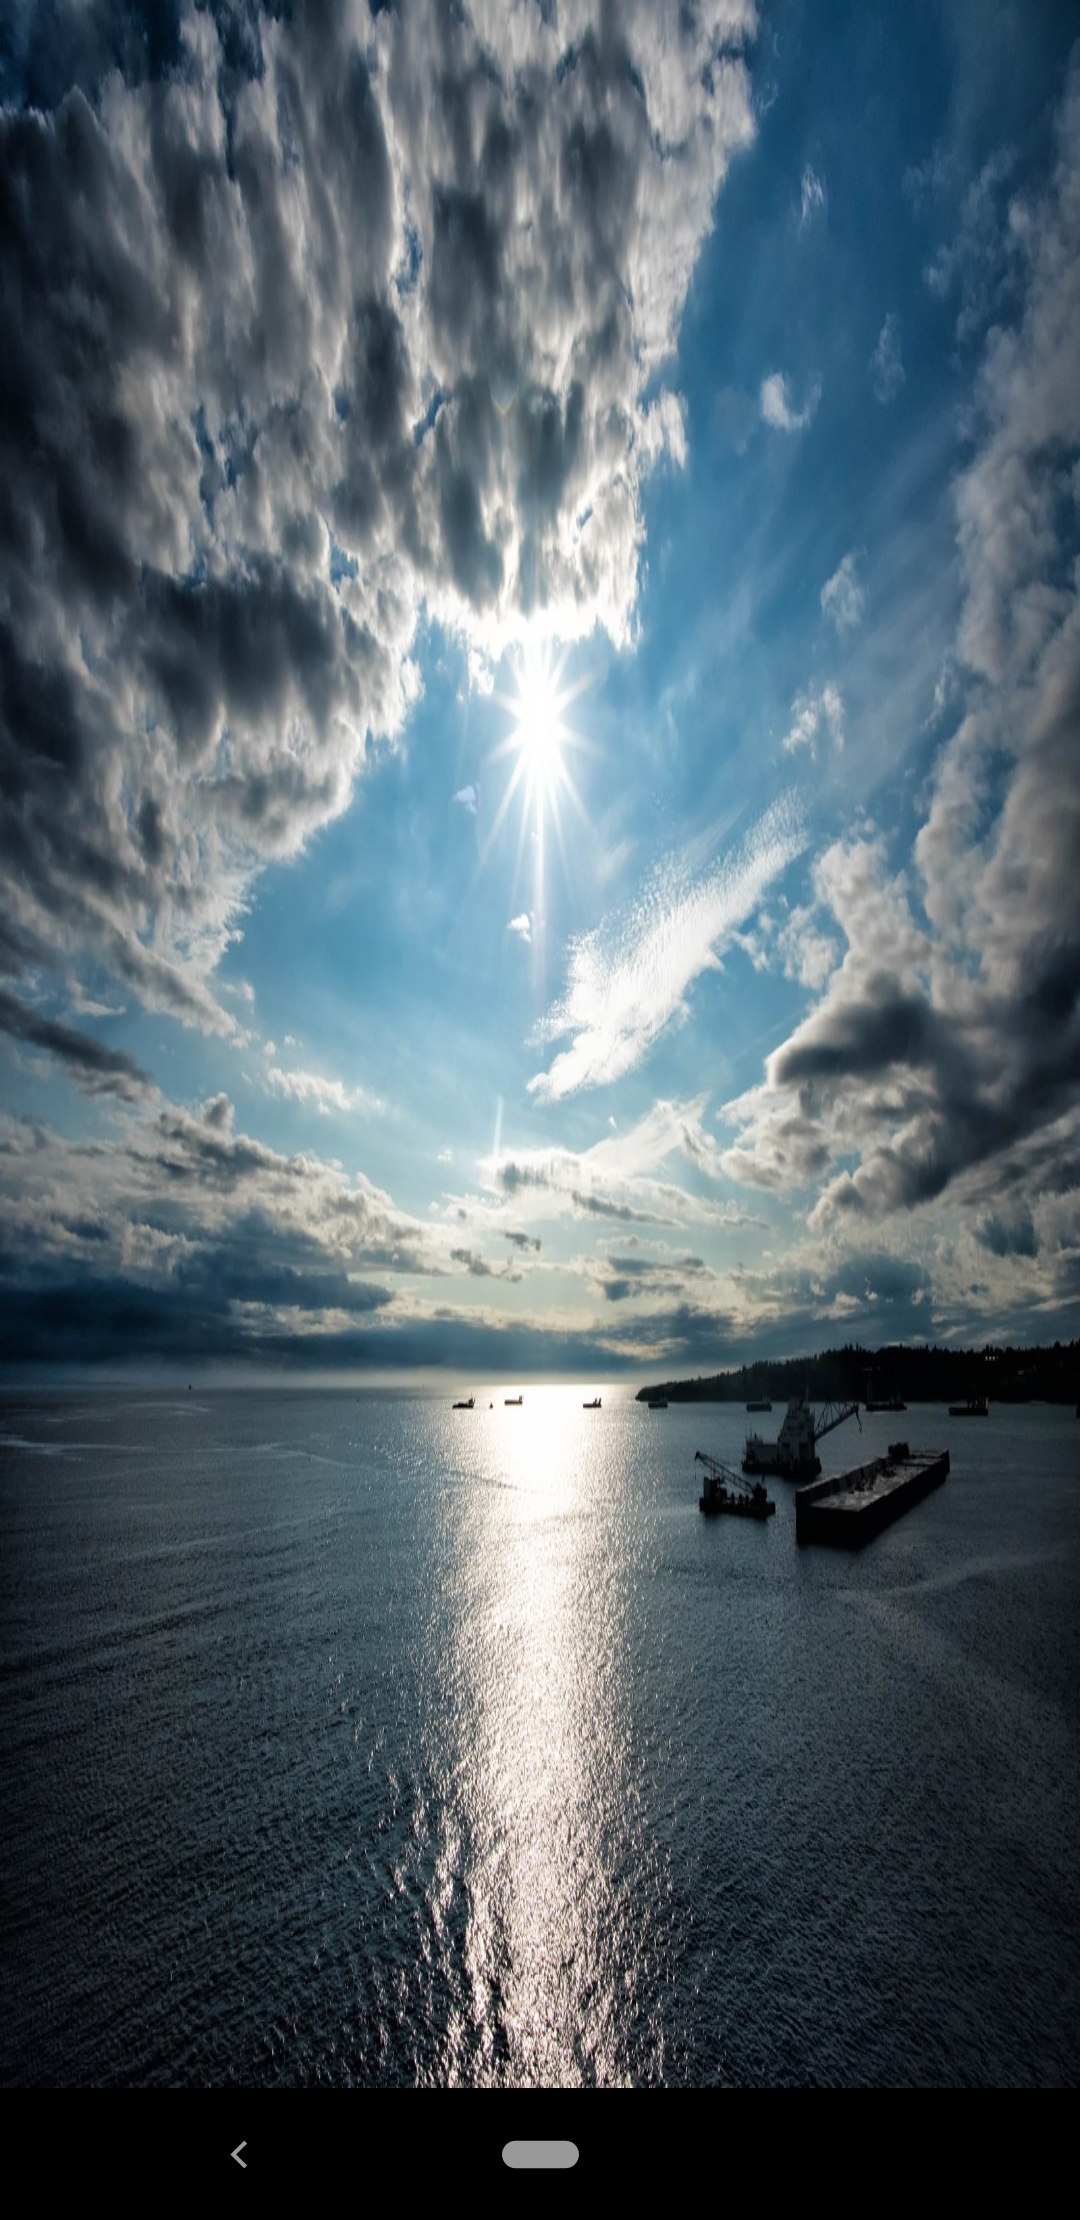
scaleTypeのfitXYを使用するとアスペクト比を維持せずにImageView全体に画像を表示することができます。
個人的意見ですがアプリ背景等に使用するときなどに使われるイメージです。
※アスペクト比を維持しないので画像崩れに要注意です
<ImageView
    android:id="@+id/imageView"
    android:layout_width="match_parent"
    android:layout_height="match_parent"
    android:src="@drawable/picture"
    android:scaleType="fitXY"  <- ImageView全体に画像を表示するように設定
    app:layout_constraintTop_toTopOf="parent"
    app:layout_constraintBottom_toBottomOf="parent"
    app:layout_constraintStart_toStartOf="parent"
    app:layout_constraintEnd_toEndOf="parent" />
// ImageViewのインスタンスを取得
ImageView imageView = findViewById(R.id.imageView);
// ImageView全体に画像を表示するように設定
imageView.setScaleType(ImageView.ScaleType.FIT_XY);// ImageViewのインスタンスを取得
val imageView = findViewById<ImageView>(R.id.imageView)
// ImageView全体に画像を表示するように設定
imageView.scaleType = ImageView.ScaleType.FIT_XY
ImageView全体に画像を表示する(アスペクト比維持)
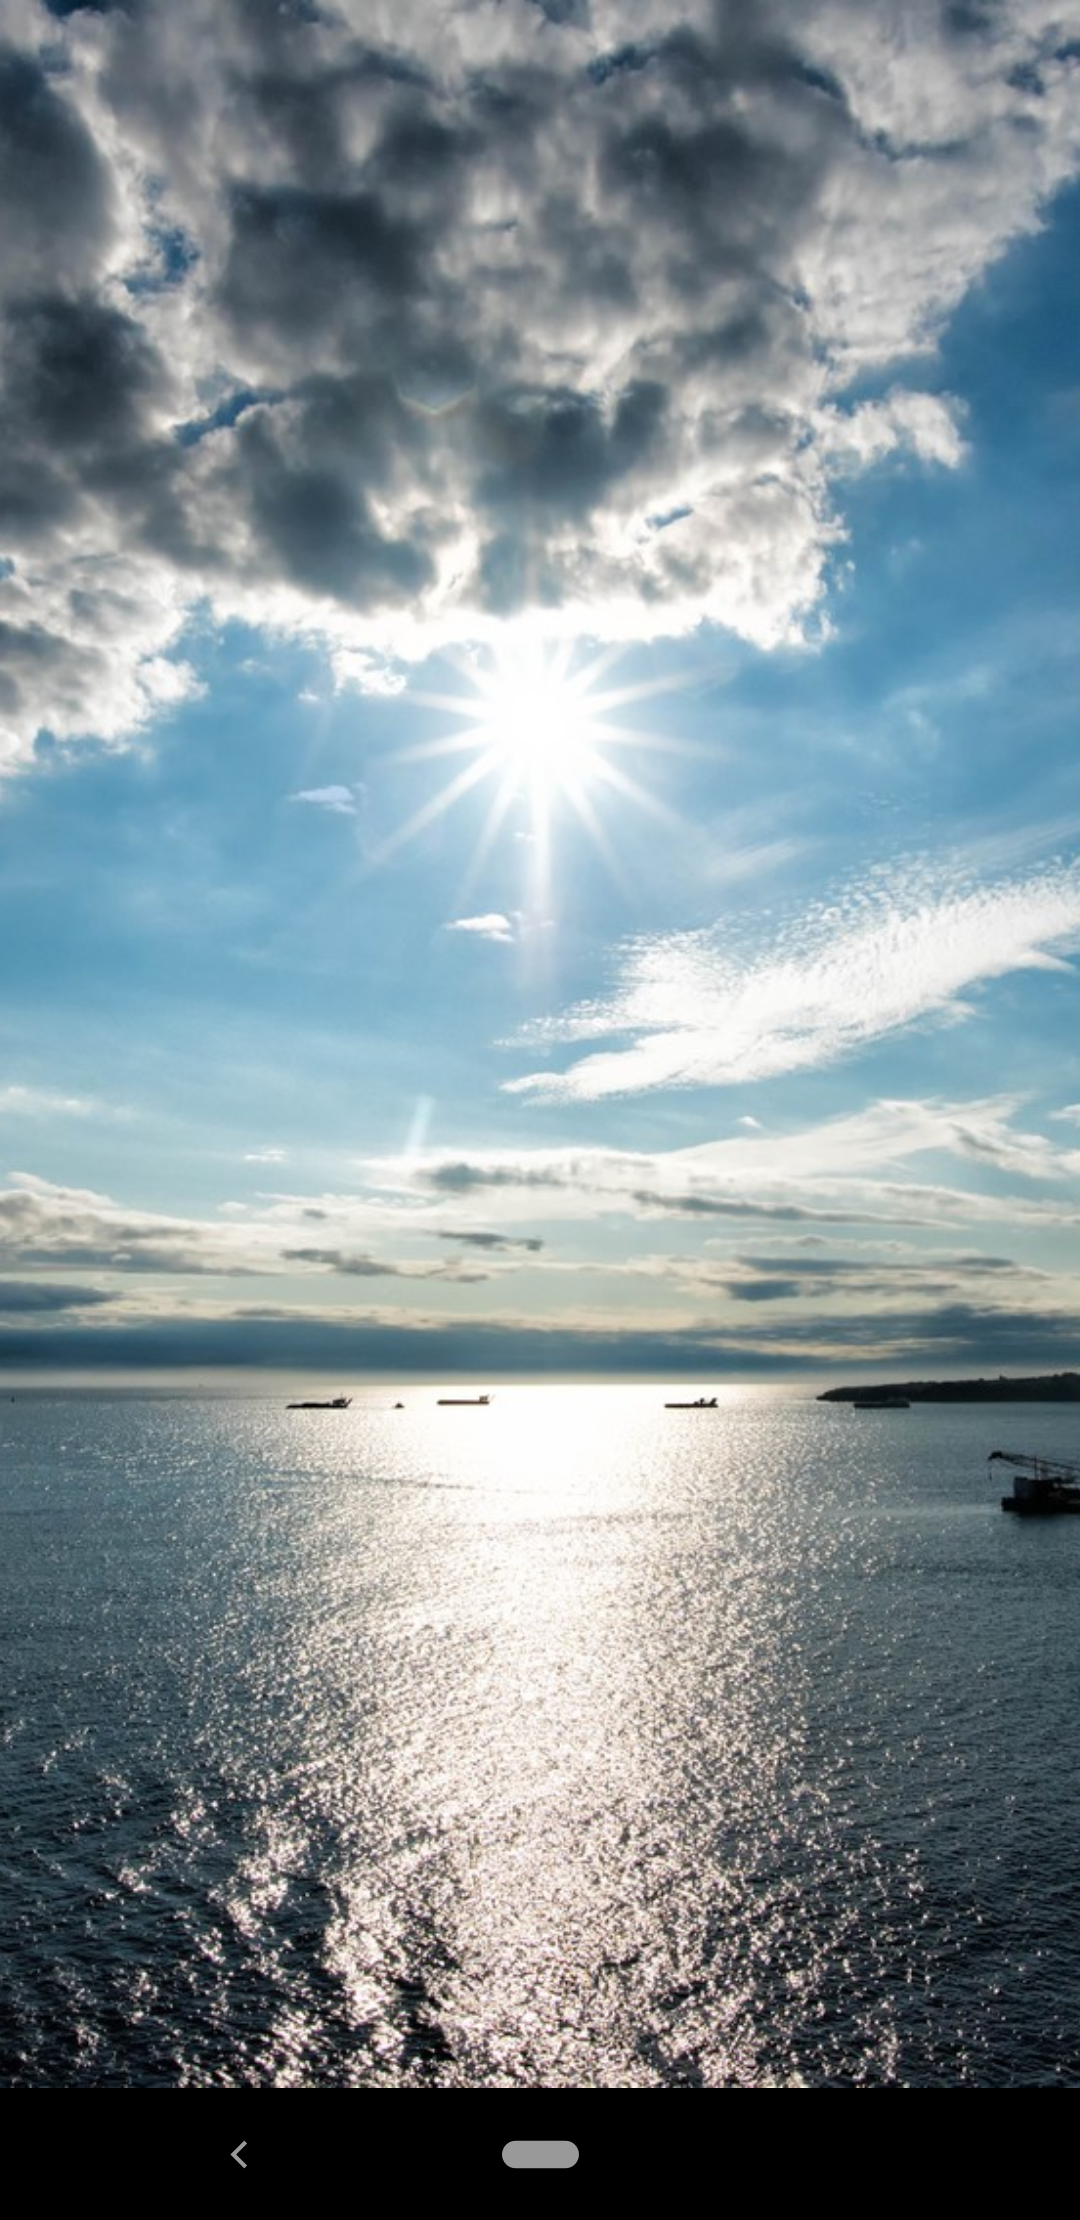
scaleTypeのcenterCropを使用するとアスペクト比を維持してImageView全体に画像を表示することができます。
※アスペクト比を維持するので縦横どちらかが表示されてないので要注意です
<ImageView
    android:id="@+id/imageView"
    android:layout_width="match_parent"
    android:layout_height="match_parent"
    android:src="@drawable/picture"
    android:scaleType="centerCrop"  <- ImageView全体に画像を表示するように設定
    app:layout_constraintTop_toTopOf="parent"
    app:layout_constraintBottom_toBottomOf="parent"
    app:layout_constraintStart_toStartOf="parent"
    app:layout_constraintEnd_toEndOf="parent" />
// ImageViewのインスタンスを取得
ImageView imageView = findViewById(R.id.imageView);
// ImageView全体に画像を表示するように設定
imageView.setScaleType(ImageView.ScaleType.CENTER_CROP);// ImageViewのインスタンスを取得
val imageView = findViewById<ImageView>(R.id.imageView)
// ImageView全体に画像を表示するように設定
imageView.scaleType = ImageView.ScaleType.CENTER_CROP
最後に
ImageViewに画像を表示させる方法を紹介しました。
透過やアスペクト比の設定ができるので色々な魅せ方ができると思います。
是非マスターしてみてください!

コメント